There will be occasions when you need to enable password protection on your own, or a client’s, Shopify store. This may be because the site is still being built and tested, or you need to make a quick change to the theme. Perhaps you’d like to tweak some product collections, or it might be a permanent fixture of your gated wholesale business.
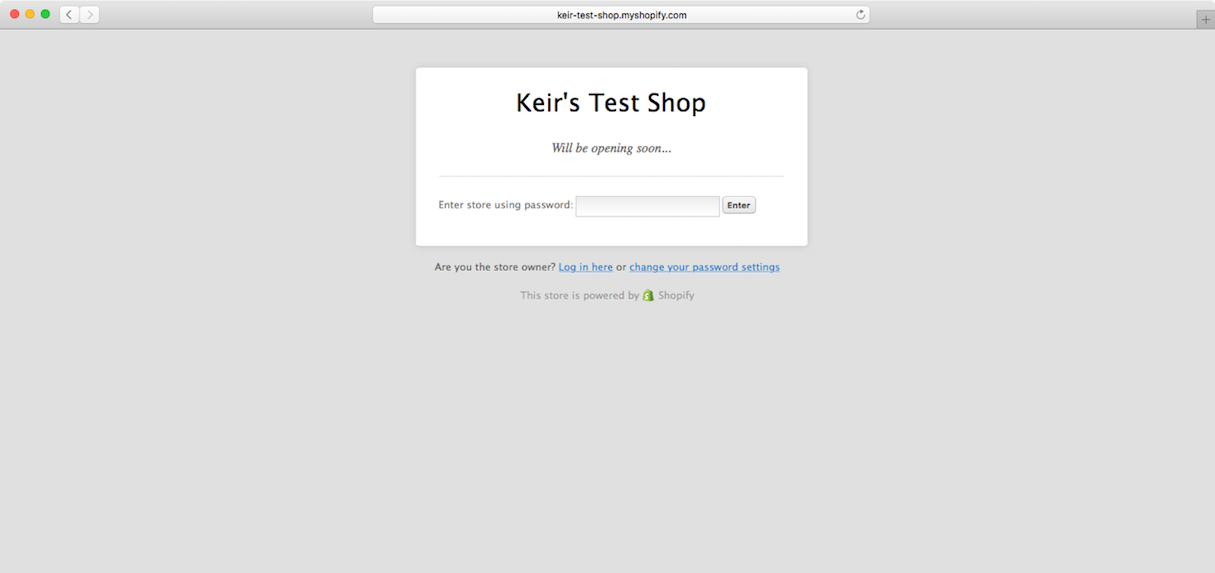
By default, Shopify allows you to add a custom message (which can include HTML) to the default password protected page, and will display this message along with a default login form that will allow access to the store. The default template also provides links for store owners to access the Shopify admin.

This page is functional and works well. However, if you need a longer-term solution, you may wish to invest some time and create your own password page. You can do this by customizing the password.liquid template. I often find that even seasoned theme developers aren’t aware of this template, but thankfully it’s easy to set up.
Landing pages are a critical part of marketing. Learn more about how to build a custom landing page.
Creating a custom password.liquid template
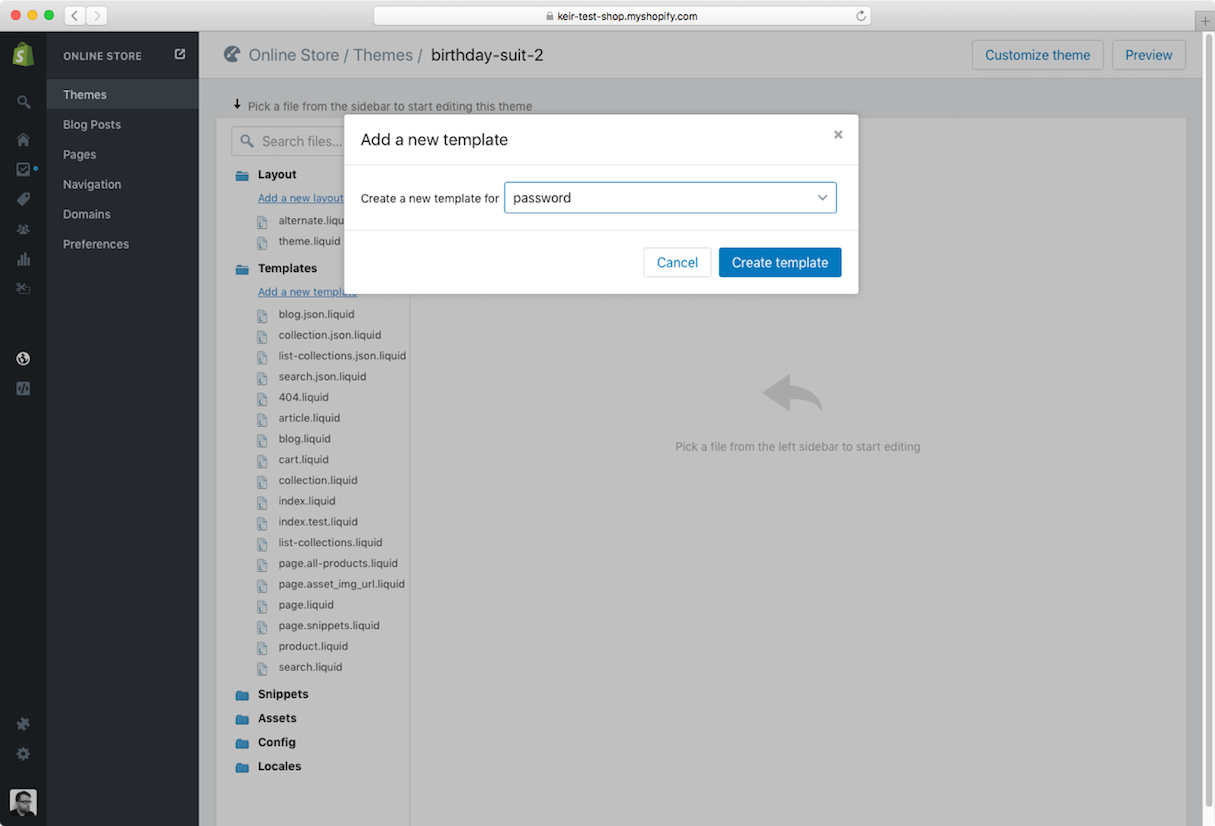
There are two ways to create the template. The first, and simplest, is to use the online theme editor. It’s a short process (see steps and image below):
- Under Templates, click “Add a new template.”
- From the “Create a new template for” drop-down menu, choose “password.”
- Click “Create template.”

This will result in a new password.liquid file being added to your templates directory. You’ll notice that the file has a number of key components:
- {% layout none %} has been applied, which allows us to design the page without the default theme.liquid layout file being applied.
- The Doctype and HTML elements are included, as we aren’t using a layout file.
- Inline CSS is used, as asset files (excluding images) aren’t accessible when the store is password protected.
- A Liquid if statement to show the merchant’s password message or a default message if it is blank in the Shopify admin.
- A form is generated in Liquid with standard inputs for password and submit (examples below).
The second way is to add a file named password.liquid to your theme’s templates folder and upload it (along with all your other theme files) either via the Shopify admin or the deployment tool of your choice.
You might also like: How to Use Liquid's "case/when" Control Tags in Shopify Themes
Template components
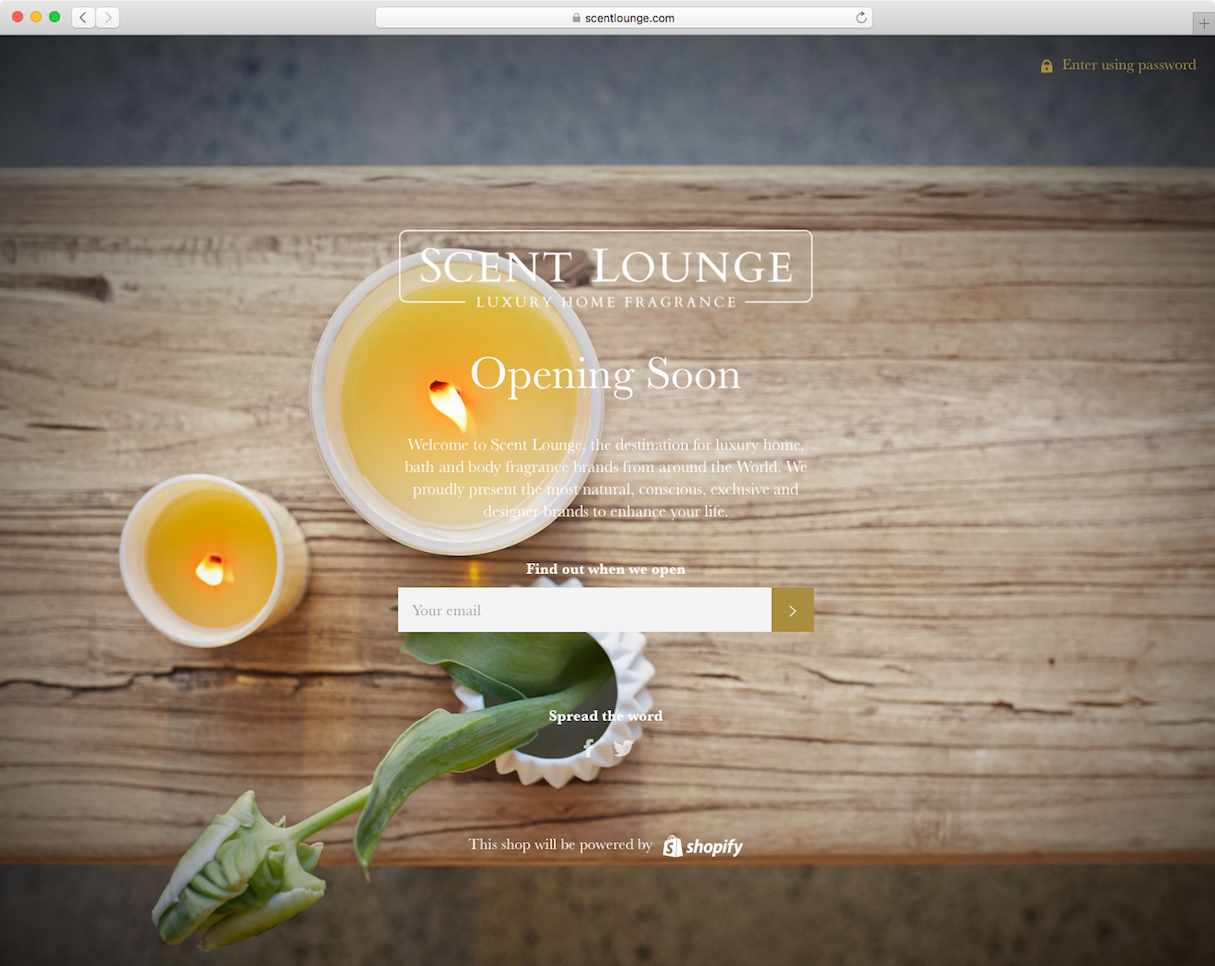
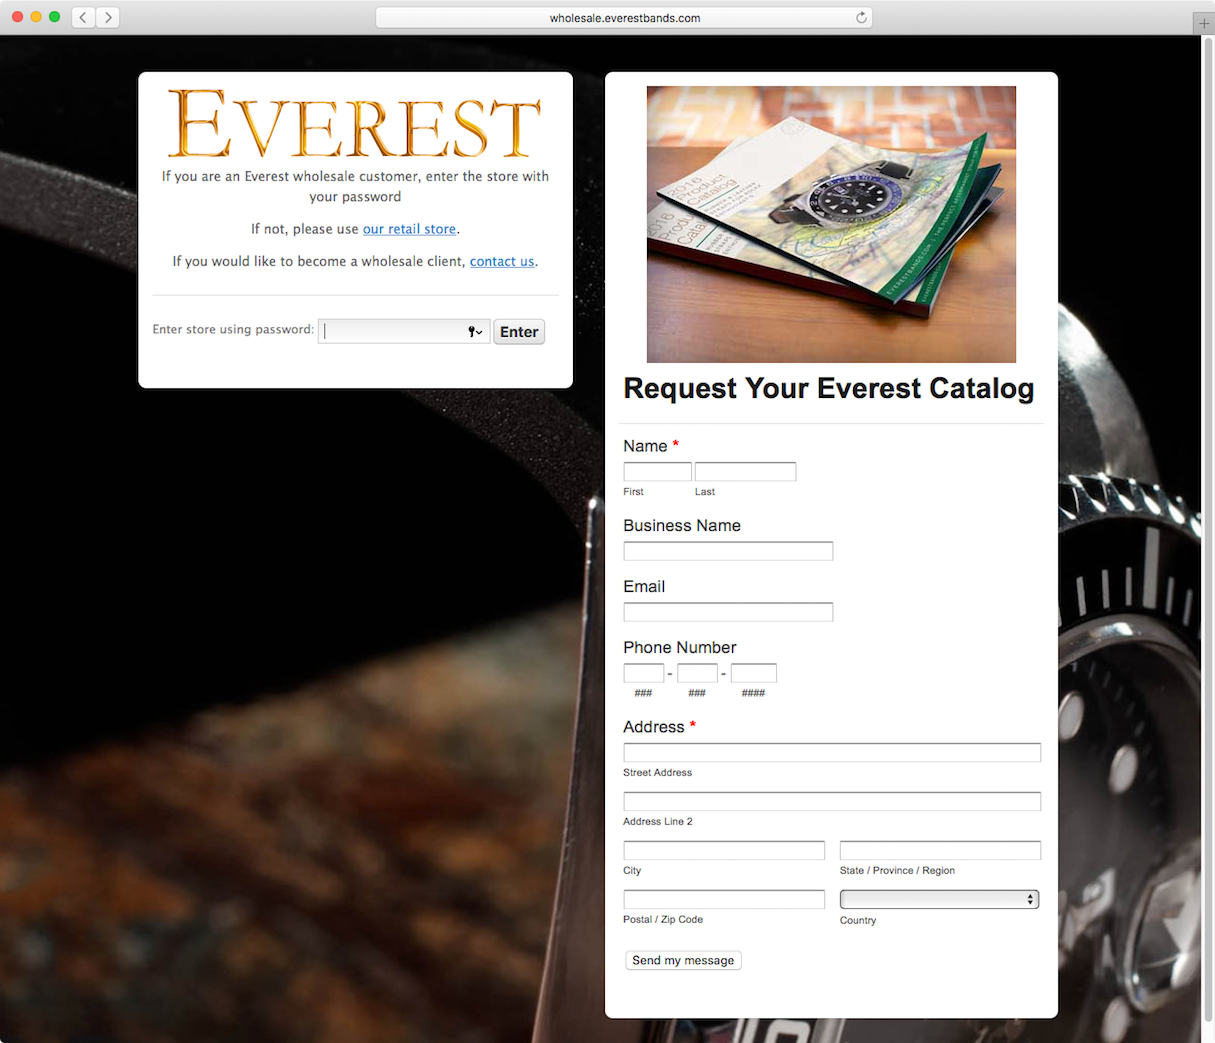
As with all Shopify templates, the password.liquid template is a blank canvas. You can add as much or as little as you need. You could simply bring the page inline with the store's branding (type, colour, logo etc.) or you could include any of the following components, which regularly feature on “coming soon” and “password protected” pages:
- A countdown timer displaying days, minutes, and hours to launch
- An email newsletter signup form
- A teaser video of upcoming products
- Links to social media accounts
- A full-page background to showcase popular products
Regardless of which direction you take, below are two code examples that may come in useful when customizing your password templates.
1. Display the password message

This example checks for the existence of a password message and ensures it’s not a blank string (for good measure). If the conditions aren’t met, the default “This store will be opening soon…” paragraph will be displayed.
{% if shop.password_message and shop.password_message != ‘’ %}
{{ shop.password_message }}
{% else %}
<p>This store will be opening soon...</p>
{% endif %}
If you don’t require the default message, you can also approach it as follows:
{% unless shop.password_message == blank %}
{{ shop.password_message }}
{% endunless %}
2. Display a password form

Thanks to a Liquid form helper, it’s easy to generate a login box should you require one. This example also includes output of any form-related errors. You can also customize how to display these error messages. More information on how to do this is available in the Shopify Docs.
{% form 'storefront_password' %}
{{ form.errors | default_errors }}
<label for="password">Enter store using password:</label>
<input type="password" name="password" id="password" autofocus="" />
<input class="btn" name="commit" type="submit" value="Enter" />
{% endform %}
You can of course choose to not include any of these elements — it’s entirely up to you and your requirements.
Points to remember
- If a password.liquid file exists, it will be displayed regardless of its contents.
- While images are accessible via the Liquid asset_url filter, all CSS and JS must be written in the template, as assets stored within the theme will not be available.
- You can choose to include the password message or not — there’s no requirement to do so.
- {% form 'storefront_password' %} is available if you wish to include a login form.
Further information on the password.liquid template is available in the Shopify Docs.
Have you created a branded password page for yourself or for a client? Share the link or screenshot in the comments below.
Read more
- Using JavaScript To Super Power Your Client's Shopify Site
- Working with Product Variants When Building a Shopify Theme
- A Beginner's Guide to Sass with Shopify — Part 1: Getting Started With Sass
- Build Forms on Shopify: How to Use Liquid to Build Robust Forms for Shopify Themes
- What is a Canonical URL? Best Practice Guide 2022
- Building an Accessible Breadcrumb Navigation with Liquid and Shopify
- Shopify Tutorial: The product.liquid template
- How the Routes and Page_Image Liquid Objects Can Help You Build More Robust Themes
- Tips for Using Snippets in Your Shopify Theme Work
- Understanding Date Formats in Liquid and Shopify

